Repositories Node
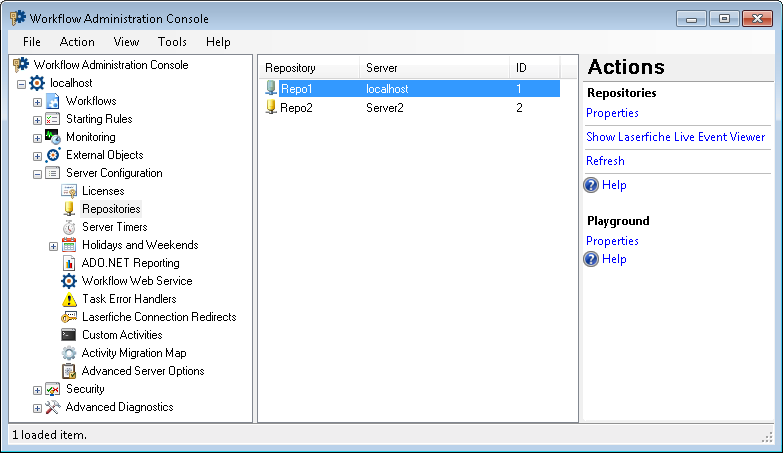
The Repositories node, under Server Configuration in the Workflow Administration Console, lists the repositories the Workflow Server can interact with. The node displays the Laserfiche Server each repository is on and the repositories' ID numbers.
From this node, users with the Modify Settings privilege can add, modify, attach, and remove repositories. You can also open the Laserfiche Live Event Viewer from this node.
Note: When you configure your repositories in this node, Laserfiche trustee directories for those repositories will be automatically added to the Trustee Directory Manager and the Trustee Directories node.
To open this node
- In the Workflow Administration Console's Console Pane, expand the Server Configuration node.
- Select Repositories. The node will show the repositories Workflow can access.
Tip: You can refresh this list to reflect recent changes by clicking the Refresh link below Repositories in the Actions Pane. Alternatively, right-click the Repositories node and select Refresh.
To add, modify, attach, or remove a repository
- In the Console Pane, select the Repositories node. Alternatively, select any repository in the center Details Pane.
- Click Properties in the Actions Pane, or right-click and select Properties.
- Use the Repository Manager dialog box to add, attach, modify, or remove a repository. See step 3 in the Configuring Monitored Repositories help file.
To view the Laserfiche Live Event Viewer
- In the Console Pane, select the Repositories node.
- Click Show Laserfiche Live Event Viewer in the Actions Pane, or right-click and select Show Laserfiche Live Event Viewer.
- The Laserfiche Live Event Viewer shows all events occurring in the specified repositories on the Laserfiche Server in real-time. More information.
To export the contents of this node in a .csv, .xml, or .txt file
- Select the node in the Console Pane.
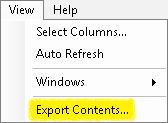
- Select View from the main menu.
- Click
 Export Contents.
 - In the Export data dialog box, name the exported file.
- Select CSV File, XML File, or Tab Delimited Text File from the drop-down menu.
- Click Save.